
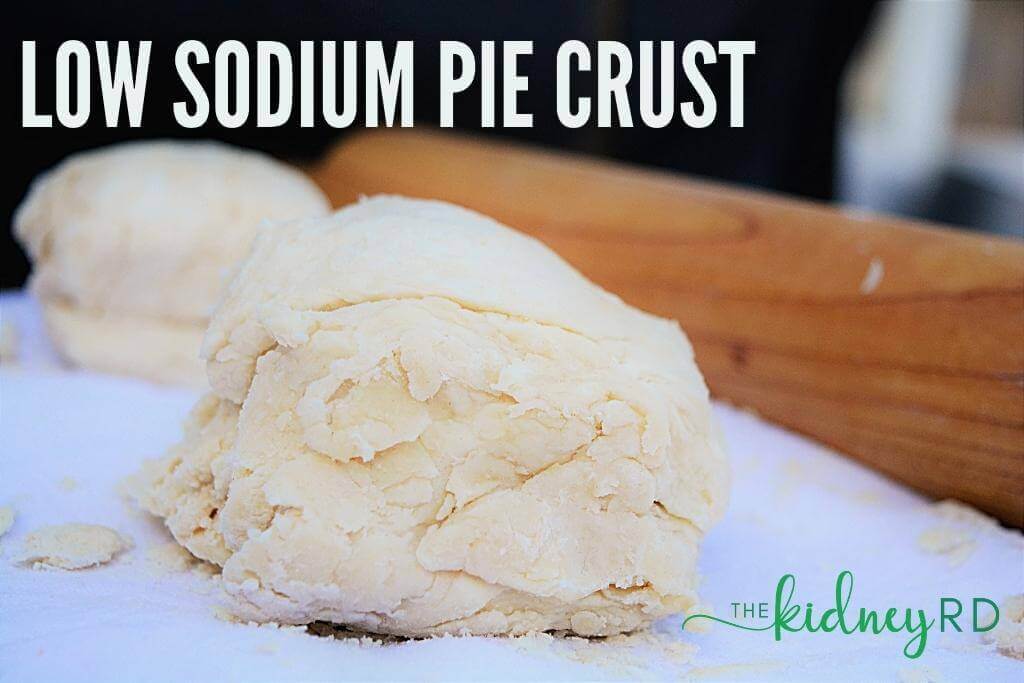
The famous American baseball legend, Yogi Berra, said, “Cut my pie into four pieces, I don’t think I could eat eight.” I’ll agree with him on that! And what is a good pie without a crust? The crust is the bones of the pie. It elevates filling, like pudding and stewed apples, from spoon territory to fork territory.
Pie is meant as the canvas that all the rest of the dish explodes from. It doesn’t need salt to be delicious. The tang of vinegar beautifully replaces the need for salt in a crust without damaging the quality. Try pairing this dough with our kidney-friendly pumpkin-free pumpkin pie.
Sodium Analysis of Store-Bought Pie Crust
We realize that not everyone will have the 15 hands-on minutes (or want the clean-up) of making pie-crust, so we did a basic analysis of some pre-made crusts and pie-crust mixes to see how much sodium you save by going to scratch.
| Brand | Sodium per serving | Notes |
| KidneyRD Low Sodium Pie Crust | 1.1 mg | Make from scratch |
| Pillsbury | 130 mg | Pre-rolled |
| Trader Joe’s | 40 mg | Pre-rolled |
| Wholly Gluten Free | 123 mg | Sold in a pie tin |
| Marie Callender’s | 50 mg | Sold in a pie tin |
| Immaculate | 130 mg | Pre-rolled |
| Mrs. Smith | 90 mg | Pre-rolled |
Want to learn more about how we combine delicious food and the power of nutrition to preserve kidney function?
We are here to help! Join our monthly class to find out how we use the power of nutrition to help preserve kidney function. If you prefer a one-to-one setting, consider booking a session with one of our expert Renal Dietitians.
Low sodium, flaky pie crust
Ingredients
- 2 cups flour
- 2/3 cup shortening or unsalted butter chilled
- 5 tablespoons of cold water or up to 6 tablespoons
- 2 tablespoons apple cider vinegar
Instructions
- Cut shortening or butter in 1/2 inch pieces. Chill the cut pieces in the freezer for at least 15 minutes.
- Combine the cold water and vinegar in a measuring cup and set aside in the refrigerator while you prep the rest of the ingredients.
Directions for a food processor:
- Measure the flour into the bowl of the food processor.
- Add the chilled butter or shortening to the food processor and pulse until the mixture resembles coarse sand. (Do not worry if you have a few larger pieces of butter remaining.)
- With the food processor running, slowly pour the water and vinegar mixture, 1 tablespoon at a time, through feeding tube. Blend for up a total of 30 seconds, until the dough holds together when pinched. Be careful not to over process.
- Follow the directions in preparing the dough.
To mix by hand:
- Measure the flour into a bowl and add the chilled butter or shortening.
- Blend flour and butter/shortening together using the back of a fork, pastry cutter or fingers until the mixture resembles coarse sand. (Do not worry if you have a few larger pieces of butter remaining.)
- Sprinkle 1 tablespoon of water over part of the mixture; gently toss with a fork or pastry cutter. Push moistened dough to side of bowl. Repeat, using 1 tablespoon of water-vinegar mixture at a time, until all the dough is moistened.
To prepare the dough:
- Divide in the dough in half. Form each half into a ball.
- Flatten each ball your the palm of your hand until it is 1-inch thick. Wrap in plastic wrap and place in the refrigerator for at least 30 minutes to rest. (The dough can keep for up to 2 days in the refrigerator. Alternatively freeze the dough, well wrapped, for up to 1-2 months. Defrost in the refrigerator before using.)
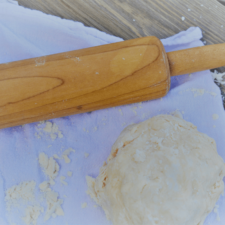
- Remove the dough from the refrigerator. On a lightly floured surface, roll the dough from center to edges into 12 inch circle.
- Transfer to pie plate and trim the edges so they are neat. Prick the bottom of the dough with a fork and return to the refrigerator for 15-30 minutes. Once the dough is chilled, it is ready for use.
To pre-bake the pie crust:
- Preheat the oven to 400 degrees F.
- Remove the pie shell from the refrigerator and line the shell on top of the dough with parchment paper. Fill with pie weights, rice or dried beans. Bake crust for 20-25 minutes, until the crust is lightly browned. (If the pie filling requires additional baking, only bake the crust for 20 minutes, so the crust does not become too brown with additional baking.)
- Proceed with any recipe that calls for a pre-baked crust.
Nutrition
KidneyRD Verdict:
This is a great basic pie crust. As noted above, the tang replaces the salt but doesn’t create an overbearing flavor. Using unsalted butter instead of shortening adds extra depth to the flavor and complements savory dishes like chicken pot pie or quiche. Fast, easy, saves you some sodium. You can also double the batch and freeze a few pie shells for use later on.
The secret behind flaky pie crusts lies in the temperature of the butter. This is why we recommend returning the butter to the freezer to help it re-chill after slicing it. Coldwater will also help keep the temperature of your dough cold and your crust flaky. Check out this link for more tips on keeping your dough and ingredients cold.
Pingback: The Best Pumpkin-Free Pumpkin Pie You'll Ever Eat - Kidney RD
Awesome recipes and ideas!
Glad you are liking the recipes Damian!
Hello,
Where might I find the “basic analysis of some pre-made crusts and pie-crust mixes” you mentioned? My hubby’s in end-stage renal failure, but doing well on peritoneal dialysis (at least for now). His big problem is avoiding phosphates, & that’s a hard one to separate out even with ingredient lists. Thanks in advance,
Deb
(PS: PLEASE don’t give my info out to anyone!!!)